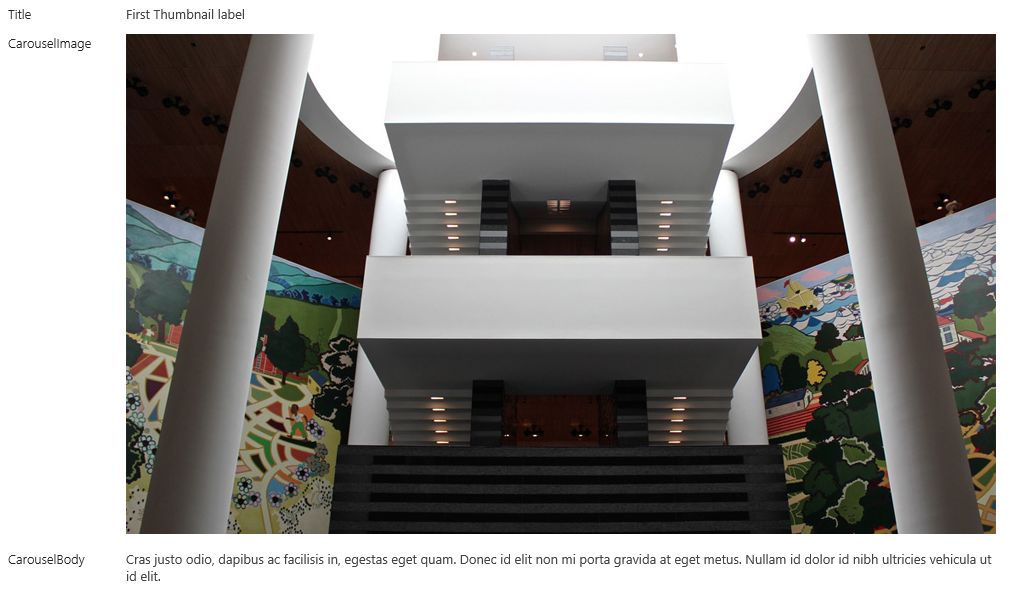
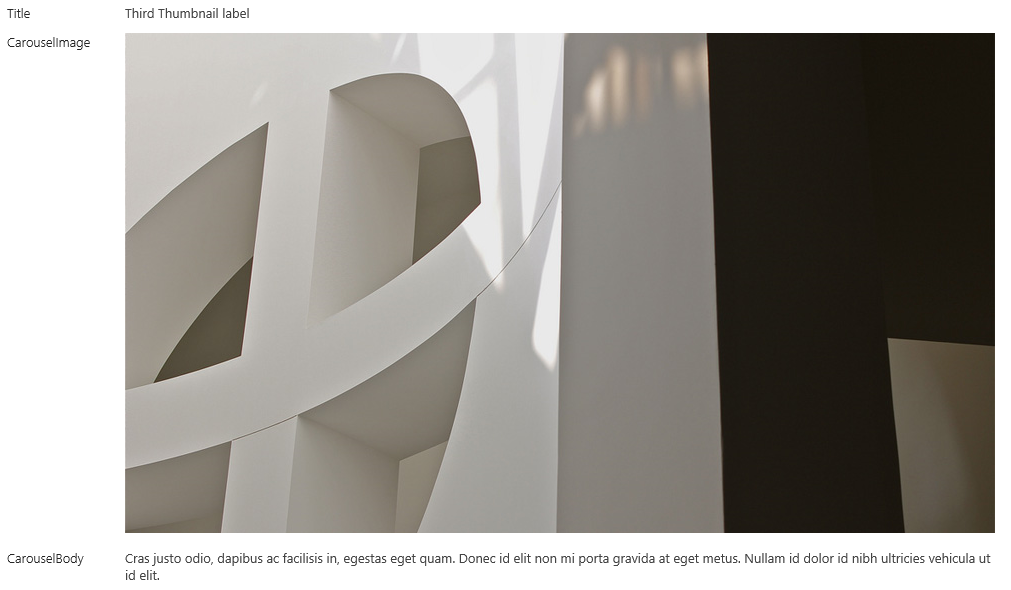
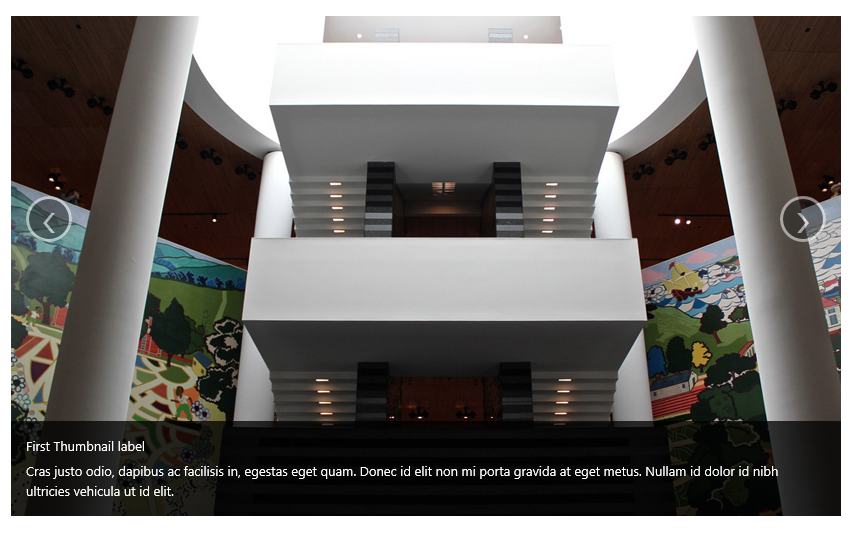
Content Search web part introduced in SharePoint 2013 is a powerful tool that lets you easily retrieve and customize the appearance of search results without ever writing a single line of server-side code. In this post I’ll show how to display items from a SharePoint list in a Twitter Bootstrap Carousel on any page of your site using a Content Search web part and a custom control and item display templates.
- First thing we need to do is to create a SharePoint list that will contain the items to be displayed in the carousel. Let’s start by creating the site columns below.
- Navigate to Site Settings > Site columns > Create
- CarouselBody site column is going to hold the text to be displayed within each carousel slide.
- Name: CarouselBody
- Type: Full HTML content with formatting and constraints for publishing
- Group: Contoso
- Require that this column contains information: Yes
- CarouselImage site column will contain the image to be displayed as the slide background.
- Name: CarouselImage
- Type: Image with formatting and constraints for publishing
- Group: Contoso
- Require that this column contains information: Yes
- At this point the site columns should look something like this:

- Next, we need to create a content type
- Navigate to Site Settings > Site content types > Create
- The Carousel content type will group the site columns together
- Name: Carousel
- Parent Content Type: Item
- Group: Contoso
- Add the site columns
- Add from existing site columns
- Select columns from: Contoso
- Columns to add: CarouselBody, CarouselImage
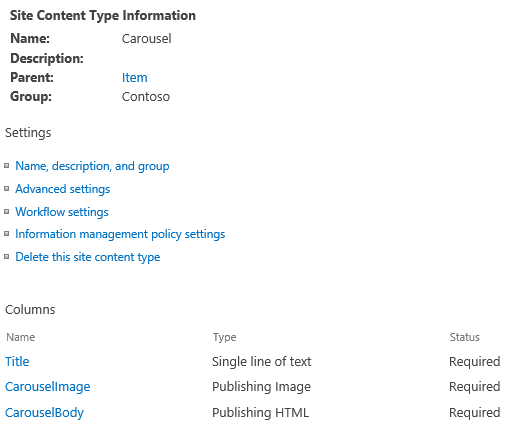
- The content type now should look similar to this:
- Now it’s time to create the SharePoint list.
- Site Contents > add an app > Custom List
- Name: Carousel
- Enable content type management for the list.
- List Settings > Advanced settings
- Allow management of content types?: Yes
- Add the Carousel content type to the list content types
- List Settings > Content Types > Add from existing site content types
- Group: Contoso
- Content types to add: Carousel
- Remove the default Item content type from the list
- List Settings > Content Types > Item > Delete this content type
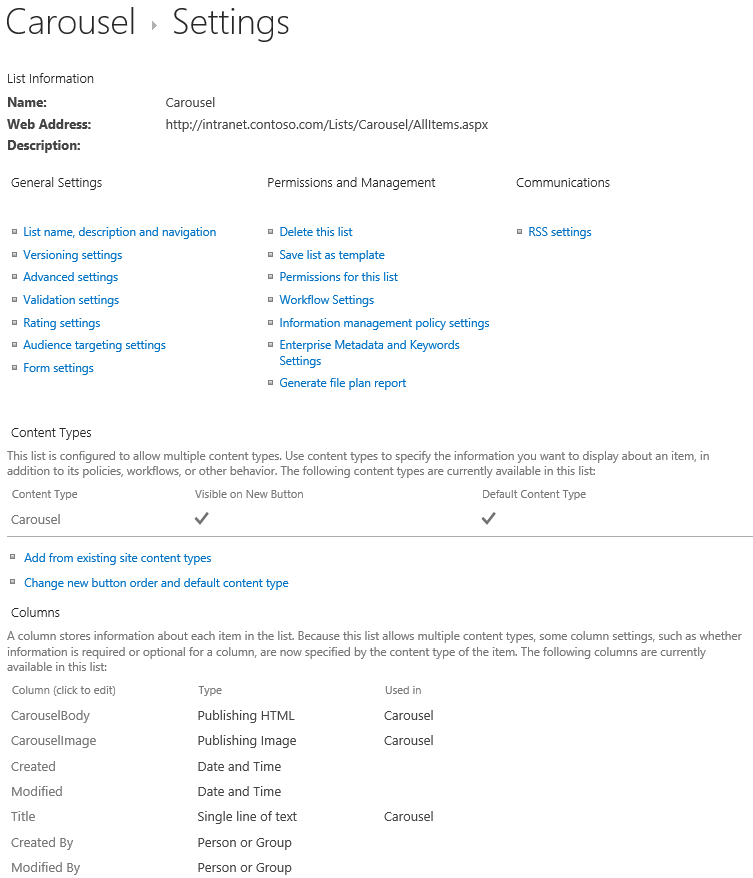
- The list settings should now be as below:
- Site Contents > add an app > Custom List
- Finally, we are ready to add some carousel items to the list.
- Once the items are added, let’s go ahead and run a full crawl. The managed properties for each column in the list will be created automatically.
- Central Administration > Application Management > Manage service applications
- Search Service Application > Content Sources > Local SharePoint Sites > Start Full Crawl
- When the crawl is complete we can verify that all of the information we need is in the search index by running a REST API search query.
- http://intranet.contoso.com/_api/search/query?querytext=’contenttype:carousel’&selectproperties=’Title,CarouselBodyOWSHTML,CarouselImageOWSIMGE’
- The results should match the screenshot below:

- Before we move on to the next step, we need to download the jQuery library and Twitter Bootstrap Carousel package and upload those to the Site Assets document library.
- Download jQuery: http://code.jquery.com/jquery-1.8.2.min.js
- Download Bootstrap: http://twitter.github.com/bootstrap/customize.html
- Choose components: Carousel
- Select jQuery plugins: Carousel
- Site Contents > Site Assets
- Upload Document: jquery-1.8.2.min.js
- Upload Document: bootstrap.min.css
- Upload Document: bootstrap.min.js
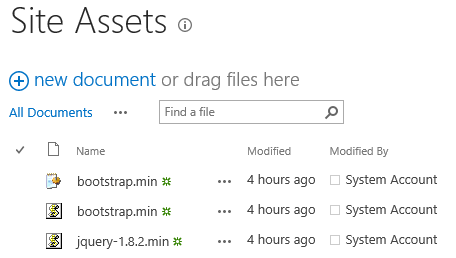
- The contents of the Site Assets document gallery should look something like this:
- At this point we have the content we need available and can now start developing the custom display templates. We’ll do that by copying and editing some of the standard display templates that come with SharePoint 2013 and located in the master pages gallery.
- Site Settings > Master pages > Display Templates > Content Web Parts
- Control_List.html > Download a Copy
- Save As: Control_CarouselList.html
- Replace the content of the file with the following:
<html xmlns:mso="urn:schemas-microsoft-com:office:office" xmlns:msdt="uuid:C2F41010-65B3-11d1-A29F-00AA00C14882"> <head> <title>Carousel List</title> <!--[if gte mso 9]><xml> <mso:CustomDocumentProperties> <mso:TemplateHidden msdt:dt="string">0</mso:TemplateHidden> <mso:MasterPageDescription msdt:dt="string">This is a Carousel Control Display Template that will list the items.</mso:MasterPageDescription> <mso:ContentTypeId msdt:dt="string">0x0101002039C03B61C64EC4A04F5361F385106601</mso:ContentTypeId> <mso:TargetControlType msdt:dt="string">;#Content Web Parts;#</mso:TargetControlType> <mso:HtmlDesignAssociated msdt:dt="string">1</mso:HtmlDesignAssociated> </mso:CustomDocumentProperties> </xml><![endif]--> </head> <body> <!-- Warning: Do not try to add HTML to this section. Only the contents of the first <div> inside the <body> tag will be used while executing Display Template code. Any HTML that you add to this section will NOT become part of your Display Template. --> <script> $includeLanguageScript(this.url, "~sitecollection/_catalogs/masterpage/Display Templates/Language Files/{Locale}/CustomStrings.js"); $includeCSS(this.url, "~sitecollection/SiteAssets/bootstrap.min.css"); $includeScript(this.url, "~sitecollection/SiteAssets/jquery-1.8.2.min.js"); </script> <!-- Use the div below to author your Display Template. Here are some things to keep in mind: * Surround any JavaScript logic as shown below using a "pound underscore" (#_ ... _#) token inside a comment. * Use the values assigned to your variables using an "underscore pound equals" (_#= ... =#_) token. --> <div id="Control_CarouselList"> <!--#_ if (!$isNull(ctx.ClientControl) && !$isNull(ctx.ClientControl.shouldRenderControl) && !ctx.ClientControl.shouldRenderControl()) { return ""; } ctx.ListDataJSONGroupsKey = "ResultTables"; var $noResults = Srch.ContentBySearch.getControlTemplateEncodedNoResultsMessage(ctx.ClientControl); var noResultsClassName = "ms-srch-result-noResults"; var ListRenderRenderWrapper = function(itemRenderResult, inCtx, tpl) { var iStr = []; iStr.push(itemRenderResult); return iStr.join(''); } ctx['ItemRenderWrapper'] = ListRenderRenderWrapper; ctx.OnPostRender = function() { $("div.item").first().addClass("active"); $.getScript(SP.PageContextInfo.get_siteServerRelativeUrl() + "SiteAssets/bootstrap.min.js", function() { $(".carousel").carousel(); }); }; _#--> <div id="myCarousel" class="carousel slide"> <div class="carousel-inner"> _#= ctx.RenderGroups(ctx) =#_ </div> <a class="left carousel-control" href="#myCarousel" data-slide="prev">‹</a> <a class="right carousel-control" href="#myCarousel" data-slide="next">›</a> </div> <!--#_ if (ctx.ClientControl.get_shouldShowNoResultMessage()) { _#--> <div class="_#= noResultsClassName =#_">_#= $noResults =#_</div> <!--#_ } _#--> </div> </body> </html> - The carousel control display template is ready so we can upload it to the same location in the master pages gallery.
- Site Settings > Master pages > Display Templates > Content Web Parts
- Upload Document: Control_CarouselList.html
- You should see the Control_CarouselList.js file automatically generated by SharePoint 2013:

- The next step is to create an item display template for the carousel slides.
- Similar to the control display template created earlier, we are going to copy and edit a standard item display template.
- Site Settings > Master pages > Display Templates > Content Web Parts
- Item_PictureOnTop.html > Download a Copy
- Save As: Item_Carousel.html
- Replace the file content with the following:
<html xmlns:mso="urn:schemas-microsoft-com:office:office" xmlns:msdt="uuid:C2F41010-65B3-11d1-A29F-00AA00C14882"> <head> <title>Carousel item</title> <!--[if gte mso 9]><xml> <mso:CustomDocumentProperties> <mso:TemplateHidden msdt:dt="string">0</mso:TemplateHidden> <mso:ManagedPropertyMapping msdt:dt="string">'Image'{Image}:'CarouselImageOWSIMGE','Heading'{Heading}:'Title','Body'{Body}:'CarouselBodyOWSHTML'</mso:ManagedPropertyMapping> <mso:MasterPageDescription msdt:dt="string">This Item Display Template will show a carousel item.</mso:MasterPageDescription> <mso:ContentTypeId msdt:dt="string">0x0101002039C03B61C64EC4A04F5361F385106603</mso:ContentTypeId> <mso:TargetControlType msdt:dt="string">;#Content Web Parts;#</mso:TargetControlType> <mso:HtmlDesignAssociated msdt:dt="string">1</mso:HtmlDesignAssociated> </mso:CustomDocumentProperties> </xml><![endif]--> </head> <body> <!-- Warning: Do not try to add HTML to this section. Only the contents of the first <div> inside the <body> tag will be used while executing Display Template code. Any HTML that you add to this section will NOT become part of your Display Template. --> <script> $includeLanguageScript(this.url, "~sitecollection/_catalogs/masterpage/Display Templates/Language Files/{Locale}/CustomStrings.js"); </script> <!-- Use the div below to author your Display Template. Here are some things to keep in mind: * Surround any JavaScript logic as shown below using a "pound underscore" (#_ ... _#) token inside a comment. * Use the values assigned to your variables using an "underscore pound equals" (_#= ... =#_) token. --> <div id="Item_Carousel"> <!--#_ var carouselImage = $getItemValue(ctx, "Image"); var carouselHeading = $getItemValue(ctx, "Heading"); var carouselBody = $getItemValue(ctx, "Body"); _#--> <div class="item"> _#= carouselImage.value =#_ <div class="carousel-caption"> <h4>_#= carouselHeading =#_</h4> <p>_#= carouselBody =#_</p> </div> </div> </div> </body> </html> - Upload the custom item display template to the master pages gallery.
- Site Settings > Master pages > Display Templates > Content Web Parts
- Upload Document: Item_Carousel.html
- Verify that the associated Item_Carousel.js was successfully generated:

- Similar to the control display template created earlier, we are going to copy and edit a standard item display template.
- At last, everything is in place and we can now add a Content Search web part to the page.
- Page > Edit
- Insert > Web Part > Content Rollup > Content Search
- Configure the web part to fetch carousel items from the search index and use the custom display templates created earlier.
- Edit Web Part
- Change Query
- Select a query: Items matching a content type
- Restrict by content type: Carousel
- Display Templates
- Control: Carousel List
- Item: Carousel Item
- Appearance
- Width: 830px (set to the width of your carousel images)
- Page > Save
At this point you should see the Twitter Bootstrap Carousel on the page displaying items from the Carousel SharePoint list.
